GeoPlan Print Dialog
This dialog is displayed when printing from the GeoPlan Window using the classic method of printing. It allows some custom InfoAsset Manager options to be set, as well as the standard options that would be expected from the Windows Print Setup Dialog.
To display the dialog, select the File | Print menu option when the GeoPlan Window is the current window.
Print page
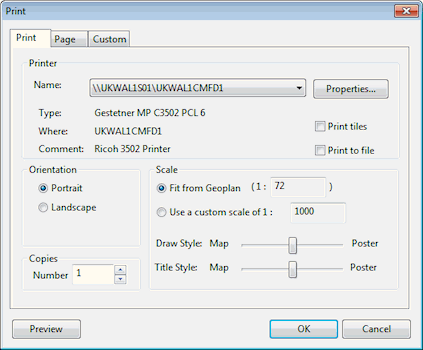
This page allows you to change the scale of the printed output.
The Scale box displays the current scale as taken from the GeoPlan. You may want to adjust this to the nearest standard used scale, such as 1:10,000.
In addition, the display of the printed output can be fine-tuned by using the Map and Poster sliders for both the draw and the title styles. The Map configuration produces small symbols, fonts and line widths, giving a map-like finish to the print, so it can be taken into the field as a reference, for example. On the other hand, setting the styles to Poster does the reverse scaling to generate a printout that will be more suitable for display at a conference or in a presentation where the audience is likely to be further away.
Page setup page
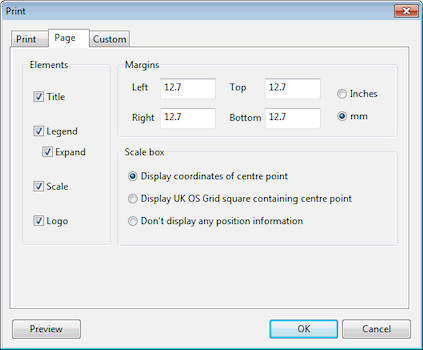
This page allows you to choose whether additional information is displayed on the printed output from options in the Elements section.
The options are:
- Title - from the database. However, you can change it on the Custom page.
- Legend - choose whether to display the symbol key normally visible in the Thematic Key Window. Check Expand to display all of the symbols in the key. Uncheck the Expand box to display only those symbols that are currently displayed in the Thematic Key Window.
- Scale - show the scale of the map. Use the radio buttons in the Scale box section to choose whether additional position information is displayed. The options are:
- Display coordinates of centre point - include coordinate information
- Display UK OS Grid square containing centre point - include Grid square information
- Don't display any position information - only the scale will be displayed on the printed output
- Logo - include a user defined logo. You can change this on the Custom page
Custom page
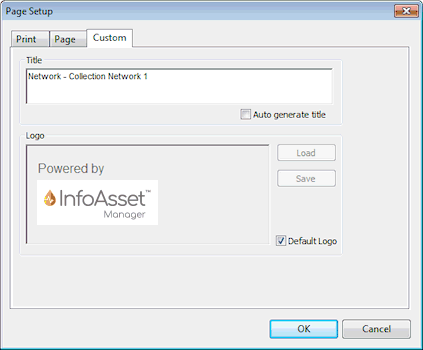
This page lets you to change the page title and set up a custom logo for inclusion on each page.
You can include a piece of Rich Text Format text to use as a custom logo on your GeoPlan printout. You can either Load an existing Rich Text (.rtf) file created in an external package such as Microsoft Word, or paste text or images into the box and then Save them as a Rich Text file. This file is then included in the logo area of each printout.
You may have to manipulate the size of text and bitmaps outside InfoAsset Manager to display the logo to best effect.
Check Default Logo to use the default
logo for the database.

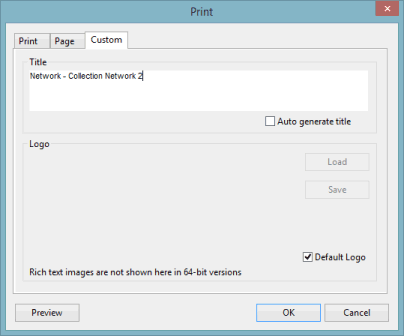
If you are using a 64 bit version of InfoAsset Manager, and the RTF file contains an image, then the image will not be displayed in the Logo pane of the Custom Options Page.
RTF text is not affected and will still be displayed in the Logo pane.
You can view the logo (RFT text and/or image) before printing by clicking the Preview button, or by choosing Print preview from the File menu.
Print preview
A print preview option is available when printing the GeoPlan View using the classic method of printing. Access the preview by choosing Print preview from the File menu, or clicking the Preview button on the GeoPlan Print dialog.
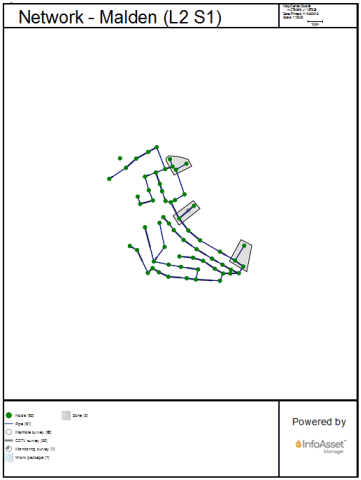
Example of Print Preview in InfoAsset Manager
