Managing dynamic data
This functionality is available only to Administrators and System Administrators.
- In the Dynamic Data group of the Tools tab, select Manage.
- Click the New... button.
A blank Setup Custom Dynamic Data dialog is displayed.
- Fill in the dialog appropriately.
- Click OK to save the changes and close the Setup Custom Dynamic Data dialog.
- Click OK to close the message.
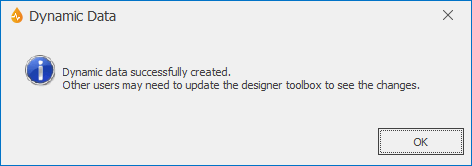
The changes are uploaded to the server, and a message is displayed confirming the creation of the new dynamic data source. ![]() Show image
Show image
The new dynamic data source appears in the Manage Dynamic Data dialog.
- In the Dynamic Data group of the Tools tab, select Manage.
- Select a data source in the data source list.
- Click the Edit... button.
The Setup Custom Dynamic Data dialog for the selected dynamic data source is displayed.
- Edit as appropriate.
- Click OK to save the changes and close the Setup Custom Dynamic Data dialog.
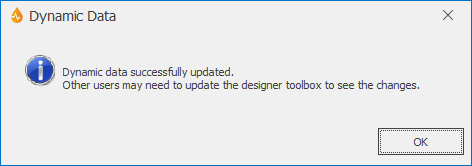
- A message is displayed confirming the update of the dynamic data source.
 Show image
 - Click OK to close the message.
Changes are uploaded to the server.
- In the Dynamic Data group of the Tools tab, select Manage.
- Select a data source in the data source list.
- Click the Copy... button.
The Setup Custom Dynamic Data dialog is displayed, with the attributes of the data source to be copied and a blank name.
- Give the data source copy a name.
- Click OK to save the changes and close the Setup Custom Dynamic Data dialog.
Changes are uploaded to the server.
A message is displayed confirming the creation of the copy.
- Click OK to close the message.
The new dynamic data source appears in the Manage Dynamic Data dialog.
- In the Dynamic Data group of the Tools tab, select Manage.
- Select a data source in the data source list.
- Click the Delete... button.
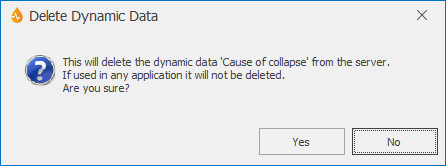
- A message is displayed.
 Show image
 - To confirm deletion, click Yes, or click No to abort the process.
Tip: As indicated in the prompt message, dynamic data sources currently used in any application cannot be deleted.


