Manage Scenarios Dialog
This dialog is used to manage scenarios.
It is displayed when you click Manage Scenarios  in the Scenarios toolbar or select the Network | Scenarios | Manage scenarios menu option.
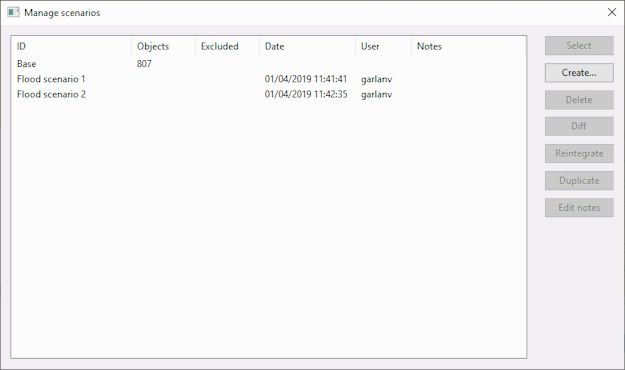
Information about the network scenarios, including the name of the scenario and the number of objects included in it, are displayed in the grid window. It is possible to copy the information from the grid to the Windows clipboard using Ctrl+C to copy selected rows of data. You can use the Crtl and Shift keys to select one or more rows and Ctrl+A if you want to select all the rows. The header row and each selected row will be displayed as a separate line when pasted, for example, into a document, spreadsheet or text file.
Dialog description
|
Item |
Description |
|---|---|
| Grid |
The grid contains the following information:
|
|
Select |
Display in the GeoPlan the scenario selected in the left pane of the dialog. This makes the selected scenario current. |
|
Create |
Create a new scenario. |
|
Delete |
Delete the selected scenario. |
|
Diff |
Compare the base network with the selected scenario or compare two selected scenarios between themselves |
|
Reintegrate |
Make the selected scenario the base. The selected scenario becomes the base network and the scenario is removed. |
|
Duplicate |
Make a copy of the selected scenario and make it a new base. The duplicate becomes a brand new network with the selected scenario as the base network whilst the selected scenario and the original base network it is derived from are still present in the database and have not been edited or overwritten.  Tip Tip The Duplicate option differs from the Reintegrate option in that reintegrating overwrites the existing base network whilst duplicating results in the new base network, the original base network and the selected scenario existing side by side. |
| Edit notes | Display the Edit Scenario Notes dialog. Add or edit notes for the scenario. |
Tip Operations such as creating or deleting a scenario can also be performed from the Scenarios toolbar.
