Files in CSV format can be used to import data onto a network, either to build a network from scratch or to update it.
This topic will take you through the CSV import of a new estate onto the example network. Network update by CSV can be performed in the same way and will not be illustrated here.
The example network covers a mainly urban region and includes a large number of nodes and links. This topic illustrates the addition of further nodes and links for a potential new housing estate on the west of the main urban area. The data for the additional objects is held in the form of a CSV file, which will be imported into the existing network.
This stage assumes that you have started InfoWorks WS Pro and that the Model Group window is open, showing the Newtown icon.
The tutorial dataset uses InfoWorks WS Pro native units (metric units). To import the tutorial data correctly, set the user units to metric by selecting Options from the Tools menu and clicking the Metric (Native) button on the Units tab.
Let us take the example of the Newtown Network network.
To import data from a CSV file:
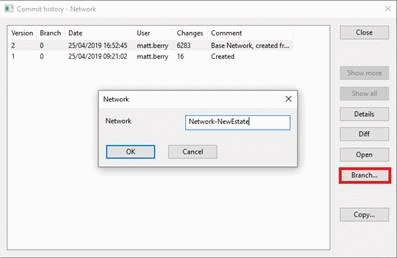
- Create a new branch of the network. Right-click the network in the model group window and select Show commit history. Select the latest committed version in the list and click Branch on the right. Name the new network appropriately and click OK. Close the Commit history dialogue.
- Set the coordinate system to British National Grid [EPSG 27700].
- To set the coordinate system, first use Tools | Options to set MapXtreme as the map control on the GeoPlan page of the Options dialog, then use GeoPlan | Set coordinate system to choose British National Grid [EPSG 27700] as the projection.
- Display the background map, that is make roads, building and general features visible on the GIS Layer Control dialog:
- Click the
 (Go to XY Coordinates) button. Type in 452289 for X and 159183 for Y.
 - If required, click once or twice on the button of the dialog to get the desired zoom level.
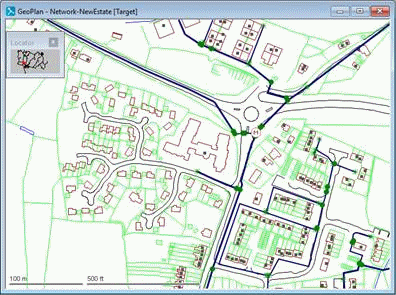
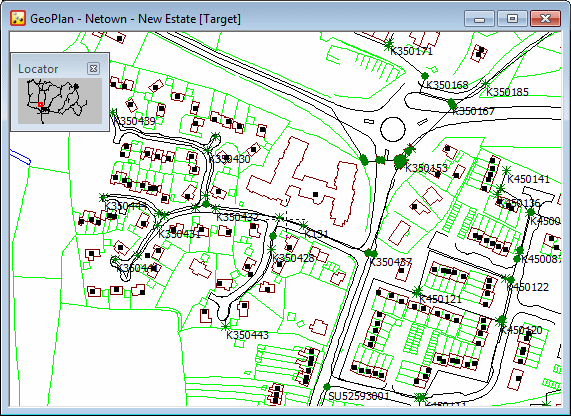
- Click . This takes you close to the new estate which is shown on the map but currently there are no nodes or links serving it.
- Right-click the GeoPlan and select Layer control.
- Click the Visible box for the Roads, Building and General layers.
- Click . If there are no background layers, you will need to add these layers. (The layers are in the tutorial data.)
- Click the
- Import the new part of the network from the CSV file:
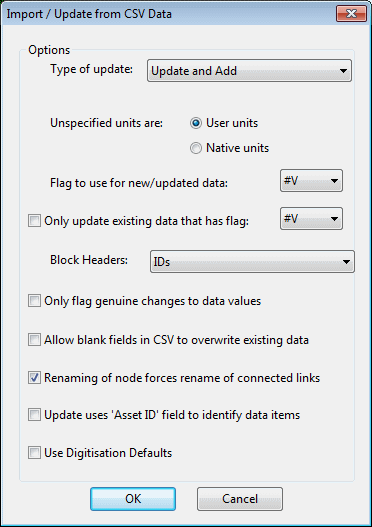
- Select . The import dialog is displayed.
- The defaults are acceptable, so click . You are asked to select a CSV file to import.
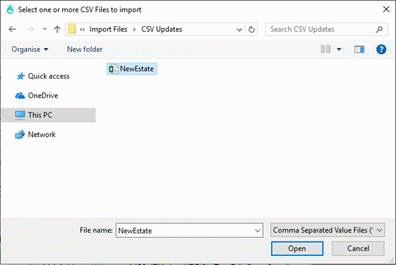
- From the Example Data Directory,
select Tutorial Files/Import Files/CSV Updates/NewEstate.csv and click .
The CSV file is imported. You can see the nodes and links being added to the network as they are imported.
- You are given the opportunity to import another
CSV file. Click .
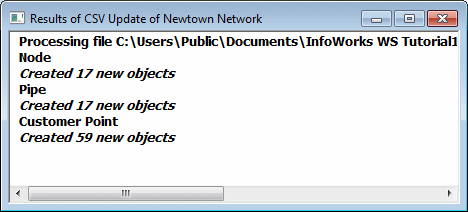
A window is displayed, detailing the number of objects (nodes, pipes and customer points) that have been created. The screenshot below shows an example of results of CSV update window.
Close this dialog.
- Switch off the display of the background map(s).
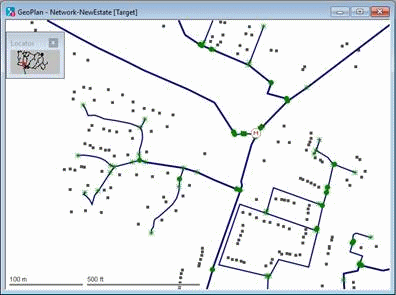
You can now see that the imported data forms a small network connected to the existing network.
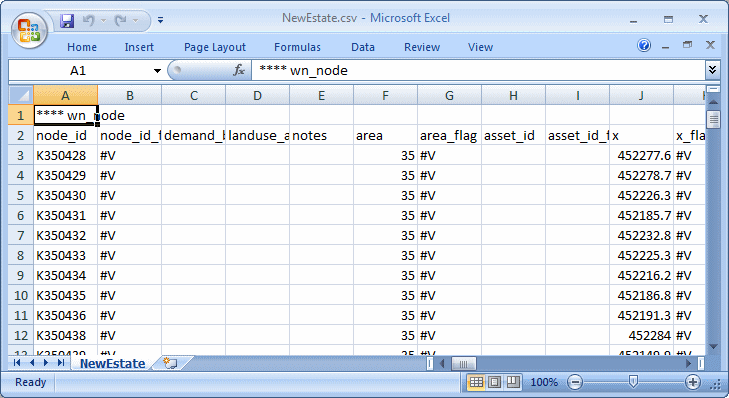
- Run Excel and open NewEstate.csv. From this you
can easily apprehend the structure of the CSV file, and look at the imported data in more detail. Close Excel when you
have finished inspecting the data.
- Commit the network updates to the master database.
- If there are still some gaps within the data, you may need to add some nodes and links that could have been omitted from the CSV import.

