Setting up links between forms
To set up a link between two forms:
- Open the source form.
- Add a button to the layout. (If the button already exists, go to the next step.)
- Double-click the button to launch the Button Editor.
- Set up the button characteristics in the Button section and click the Configure button.
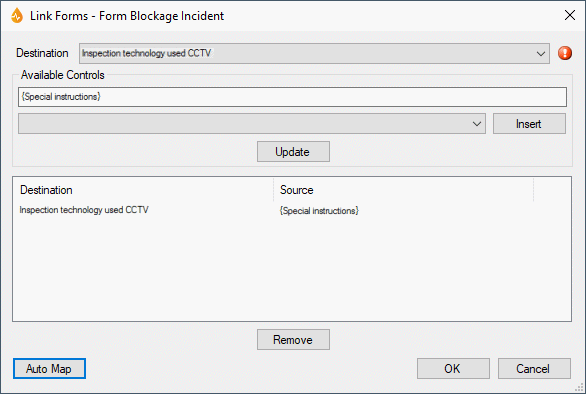
The Link Forms dialog is displayed.
- Optionally, click the Auto Map button to automatically map fields in the source form to fields in the target form.
Tip: Mapping is implemented on the Label Text property of fields.
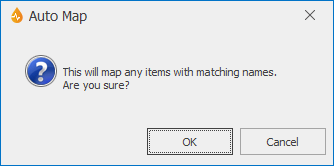
- A message is displayed.
 Show image
 - To proceed with the auto mapping, click OK.
- The mapped fields appear in the grid view.
 Show image
 - Mapping can also be carried out manually: select a field from the destination form in the Destination dropdown list.
- Use the text box in the Available Controls section to type in static data if required.
- If required, select a control / field from the Available Controls dropdown list
- Click the Insert button to add your dropdown list selection to the text box.
- Click the Update button to add this newly created link to the Grid View.
- If you do not wish to set up more links, click OK to save the changes and close the dialog.
- If you want to manually set up several links for the same forms, repeat steps 7 to 11 for each link and then click OK to save the changes and close the dialog.
- Click OK on the Button Editor.
- Save the form.
At this stage, it is highly recommended to test the resulting reports locally to check that the links have been set up correctly.
Note: When the button is pressed on a report, this report is automatically saved (unless a static form is used), so that the values can be correctly set.


