Importing Data from CSV Files / Updating Network with CSV files
Files in Comma Separated Values (CSV) format can be used to import data onto a network, either to build a network from scratch or to update it.
The example network covers a mainly urban region and includes a large number of nodes, links and subcatchments. This topic illustrates the addition of further nodes and links for a potential new housing estate in the south-east of the region. The data for the additional objects is held in the form of a CSV file which will be imported into the existing network.

This stage assumes that you have started InfoWorks ICM and that Master database, containing the ICM Basic Tutorial, is opened in the Explorer window, showing the 'Langley Catchment Study' model group.
The tutorial dataset uses InfoWorks native units (metric units). To import the tutorial data correctly, set the user units to metric (if not already set) by selecting Options from the Tools menu and clicking the Metric (Native) button on the Units tab.
To import data from a CSV file:
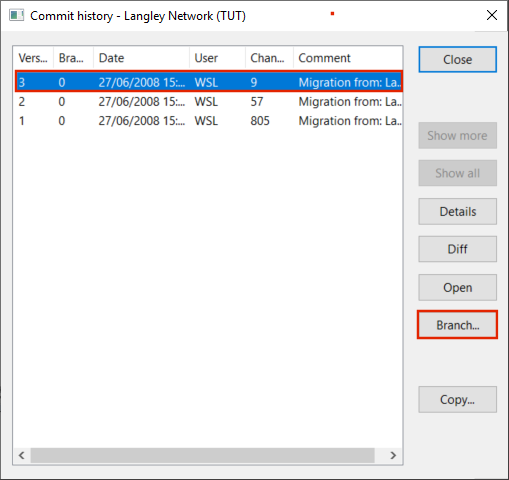
- Right-click the Langley Network (TUT) network in the Explorer window, and select Show commit history from the pop-up menu, and a Commit history window is displayed.
- Select the version at the top of the list and click Branch.
- Name the network 'Langley Catchment - New Estate'. Click OK.
- Open the network you just created.

-
Select Options from the Tools menu and then select the GeoPlan tab. Make sure that a map control is specified to something other than 'None'. If set to 'None', choose ArcDesktop or ArcEngine (if you have an ESRI license) or MapXtreme. Click Apply and OK. If you changed the map control, then restart InfoWorks ICM in order for the map control to take effect.
- Right-click the GeoPlan and select GIS Layer Control from the pop-up menu. The GIS Layer Control dialog is displayed:
- Click Add, and then in the Open window, browse to 'Tutorial File/Maps' and then select the 'MapC.shp' file.
- Click Open and the Open window closes. The selected 'MapC.shp' file is now displayed in the GIS layer pane of the GIS Layer Control dialog.
- Select Apply and then OK to save the changes the map layer. The GIS Layer Control dialog closes and the background map is displayed in the GeoPlan.
- Zoom to the new estate. This is highlighted on this GeoPlan example:
- To import the 'missing' nodes and links to this network from a CSV file:
- Select Network | Import | Update from CSV Files and the Import/Update from CSV Data dialog box is displayed:
- Click OK to use the default values for the import operation. You are now requested to select the CSV files to import:
- From the Example Data Directory, select 'Tutorial Files/Import Files/CSV Data/NewEstate.csv' and click Open.
- Click Cancel to close the window. A window is displayed, detailing the number of objects (nodes and links) that have been created.
- Click
 to close the window.
 - Switch off the display of the background map(s).
- Commit the changes to the network but do not validate it.
- Close the GeoPlan window by clicking .
A New Master Database Item dialog is displayed. In this window:
Note that there are currently no nodes or links serving this area of the network.
The selected 'NewEstate.CSV' file is imported. It is possible to import another CSV file but this is not required.
You can now see that the imported data forms a small network connected to the existing network:
 Back to flowchart
