Merging Similar Links
After pruning a network to remove insignificant links, you can further simplify the model by merging pipes of similar dimensions and gradients. If two pipes have very similar widths and gradients and their invert levels are compatible, they can be replaced by a single pipe and the connecting node can be deleted. This process reduces the size of the model without significantly affecting the results of simulations.

This stage assumes that you have started InfoWorks ICM and that Master database, containing the ICM Basic Tutorial, is opened in the Explorer window, showing the 'Langley Catchment Study' model group.
To merge similar links:
- Open the 'Langley Pruned' network.
- Set up the merging options:
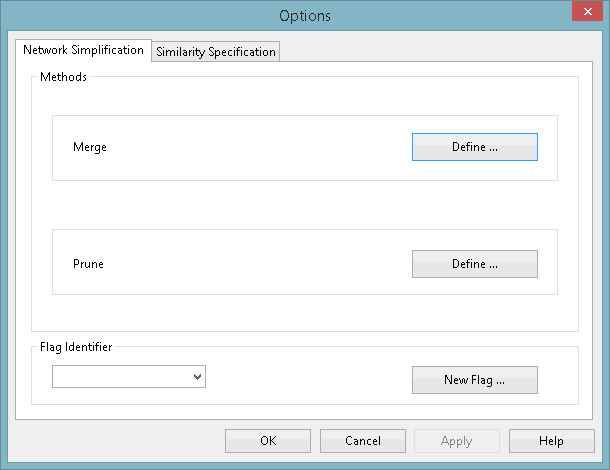
- From the Model menu, choose the Simplify | Simplification options option. The Simplification Options dialog is displayed.
- Click the Network Simplification tab.
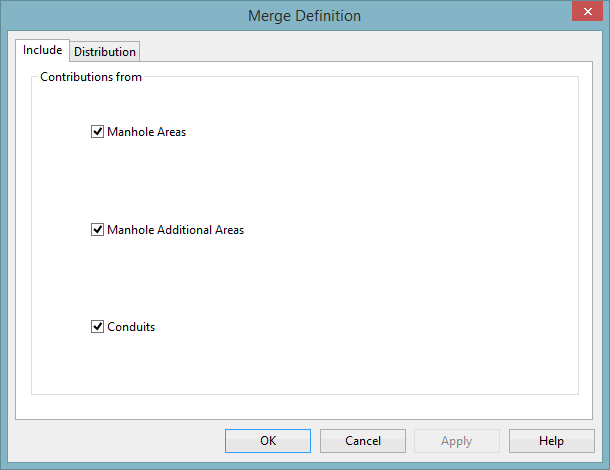
- In the Merge pane, click the Define... button. The Merge Definition dialog is displayed.
This dialog is used to determine the storage compensation during merging and pruning.
- Click OK to close the Merge Definition dialog.
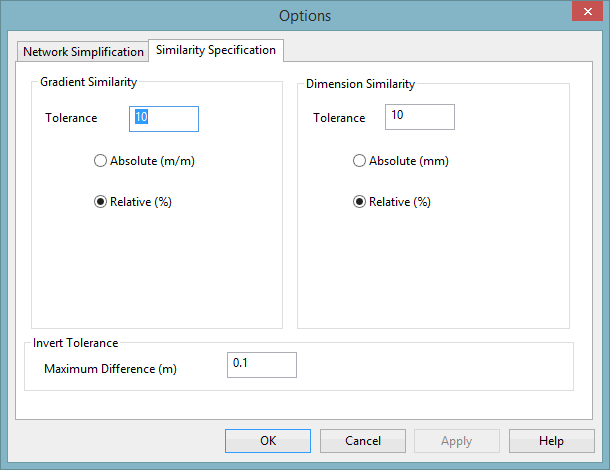
- In the Simplification Options dialog, click the Similarity Specification tab. The tab shows the rules that will be applied when attempting to merge pipes.
- Change the tolerance values so that the gradients and dimensions are within 10% of each other and the inverts are within 0.1 m in order for the links to be merged.
- Click OK.
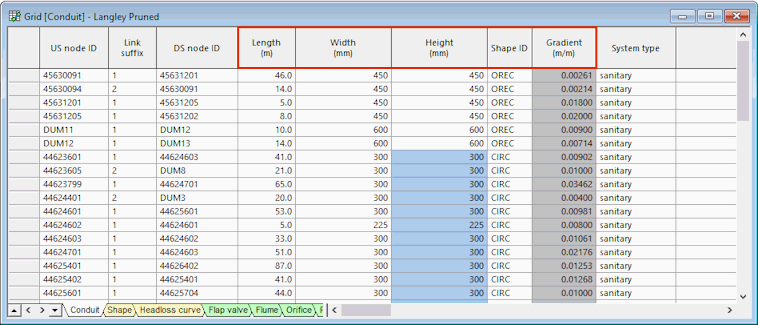
- Display the Links grid , and investigate the links:
- Re-organise the columns so that you can see the Length, Shape ID, Width, Height and Gradient.
- Sort the grid in descending order of Shape ID.
- Mark the links that have a shape other than CIRC (circular).
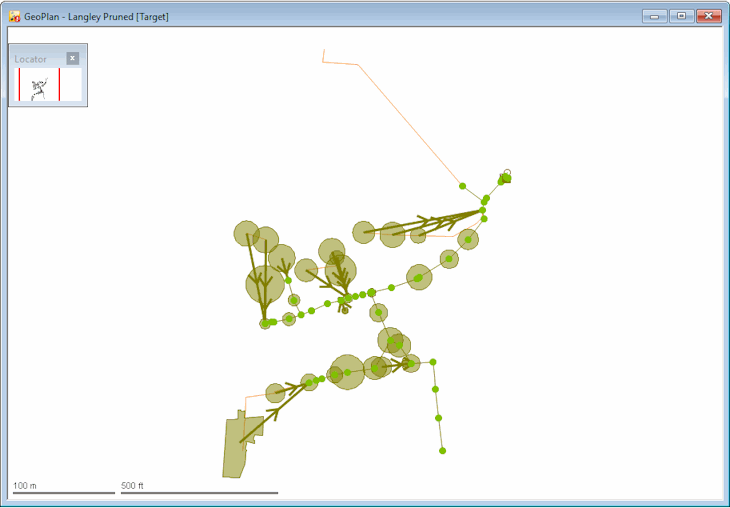
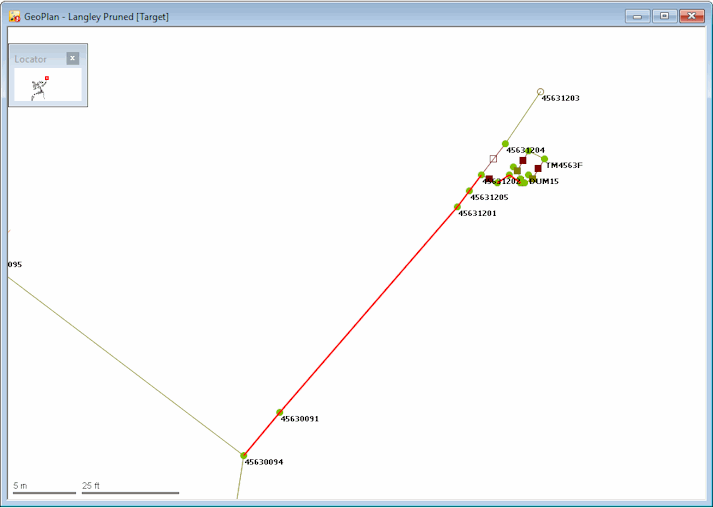
- Find the selection on the GeoPlan.
These pipes form a run of open channels that leads to the storage tanks.
- Find a run of similar links:
- Clear the current selection.
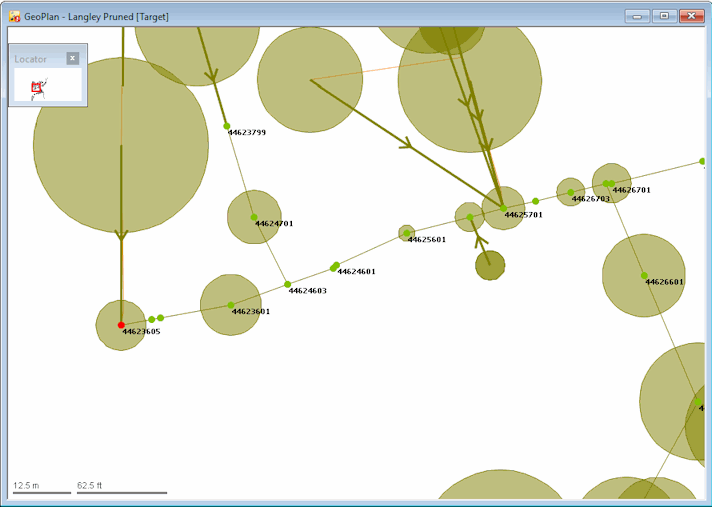
- Zoom in on the branch of the network that starts at node '44623605' (in the north-west of the network).
- Either click the
 (Select similar links) tool or select the Simplify | Select similar links mode for merging option from the Model menu.
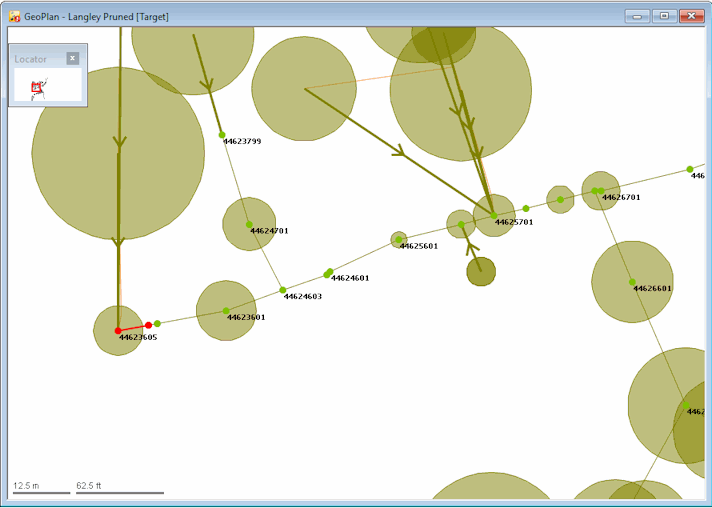
 - Click the first link in the run.
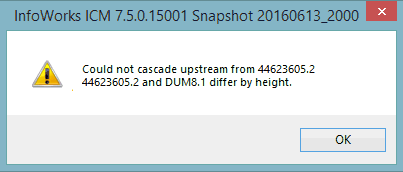
A dialog is displayed stating that the gradients of this link and the next in the run are not similar enough for the links to be merged.
- Click OK to clear the dialog, and the selected link is highlighted on the GeoPlan.
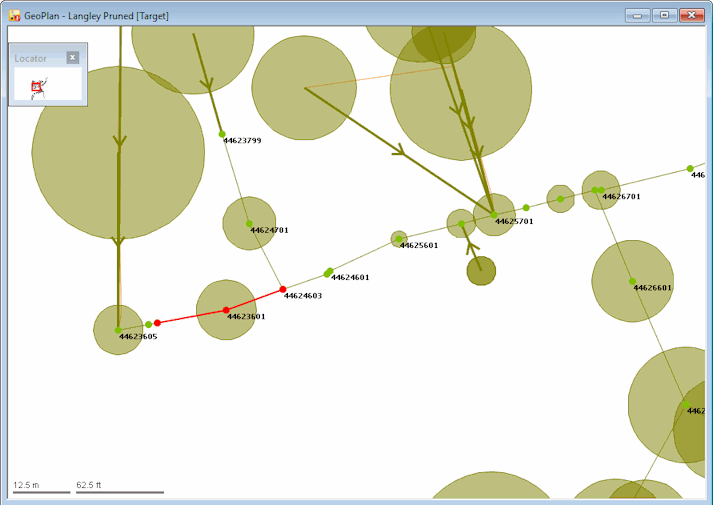
- Click alternate links along each run until you find one where the pipes are similar.
No message is displayed but the similar links are highlighted.
- Merge the similar links:
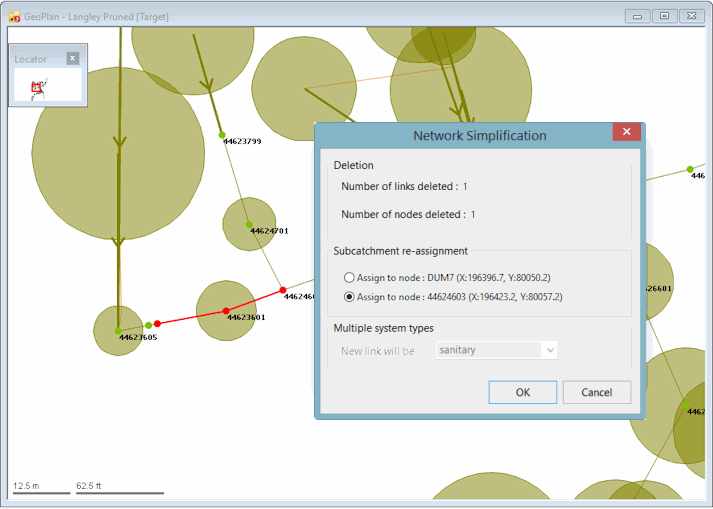
- Select the Simplify | Merge selection option from the Model menu. The Network Simplification dialog is displayed, showing the number of links and nodes to be deleted.
If there are nodes to be deleted that have subcatchments draining to them, then you can choose to move them to the nearest upstream or downstream node.
- Choose the node where the subcatchments along the run should be re-assigned.
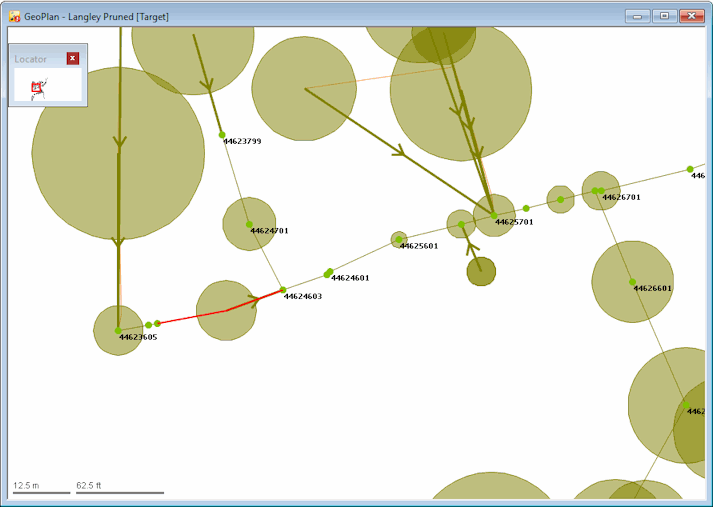
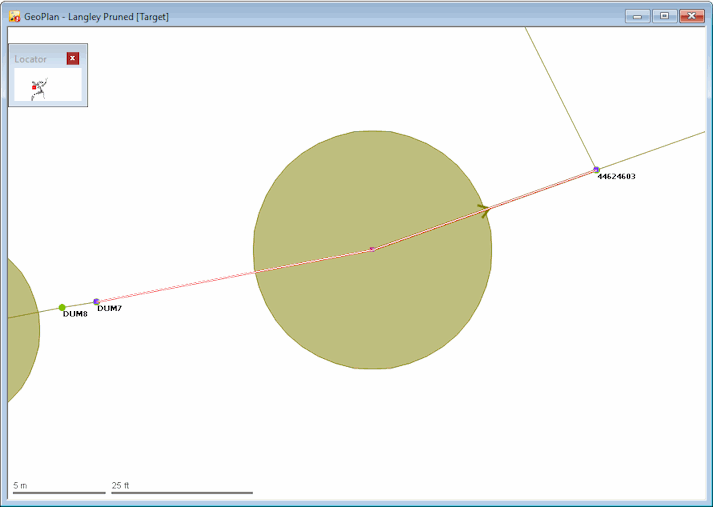
- Click OK. The pipes are merged into a single link and the intermediate nodes are deleted. The subcatchments are kept but now drain to a single node (in this case, the node at the top of the run).
- Click the merged link with the
 (Edit object geometry) tool to check that the link has bends at the points where there used to be nodes.
- Repeat the merge process for other runs in the network. In this way you can reduce the number of links to about 48 (depending on the order in which they are merged).
- Commit the changes to the network and add a suitable comment. .
- Validate the network.
You can now compare the simplified model against the original network and see how the simulations differ.

 (Clear selection) button from the toolbar or, on the GeoPlan, select the
  (
(
 button on the