A network contains all the information needed to describe the drainage system: the physical structures on the network (manholes, pumps, etc.); the pipes and channels; and the subcatchment areas. This topic shows you how to import network data from two different sources (GIS files and CSV files) using the Open Data Import Centre. Finally, this topic introduces the GeoPlan, a geographical representation of the network, usually displayed over the top of a map.
This tutorial assumes that the current Map Control is either MapXtreme, ArcGIS Engine or ArcGIS Desktop. If you are licensed to use more than one Map Control, you may want to change it.
The procedures for importing data are as follows:
- Select Options from the Tools menu, and the Options dialog is displayed.
- Click the Metric (Native) button on the Units tab to ensure that user units are set to metric units, and then click OK to save any changes and close the window.
- Right-click the 'Langley Catchment Study' icon in the Explorer window and select New InfoWorks | InfoWorks network from the pop-up menu.
- The New Name dialog is displayed. Enter a network name, such as 'Langley Network', and click OK.

- Open the new network.

- Ensure that the coordinate system is set to one of the 'British Coordinate Systems / British National Grid' options such as British National Grid [EPSG 27700].
See the topic, Selecting the Coordinate System, for a description of how to select the coordinate system.
- Select Network | Import | Open Data Import Centre..., and the Open Data Import Centre dialog is displayed.
- Check that the Table to Import Data Into is set to Node and the Source Type is either MapInfo TAB File, Raw Shape File, or Geodatabase Layer, depending on your GIS.
- Click the
 button in the Data Source section. Browse to
the 'Example Data Directory' and select the 'Tutorial Files/Import Files/GIS Data' folder.
button in the Data Source section. Browse to
the 'Example Data Directory' and select the 'Tutorial Files/Import Files/GIS Data' folder.
- Open the MapInfo or ArcView folder, click the 'iw_node' file and click Open.
- Click Auto_Map.
- Click Import to import the GIS data.
- When the data has finished importing, click OK.
- Import the conduit data:
- Change the Table to Import Data Into to Conduit.
- Change the Data Source to iw_conduit.
- Click Auto-Map.
- Click Import.
- When the data has finished importing, click OK on the displayed information message.
- Import the other GIS files:
- Repeat the steps above for each of the following Table types and files:
- Click Close when all files have been imported. The network is displayed in the GeoPlan:
- Update the network with the data in the CSV files:
- Select the Import | Update from CSV files... option from the Network menu, and the Import / Update From CSV Data dialog is displayed.
- Check that the Block Headers is set to IDs. All data in the database has a data flag, which indicates the source or reliability of the data.
- Click OK.
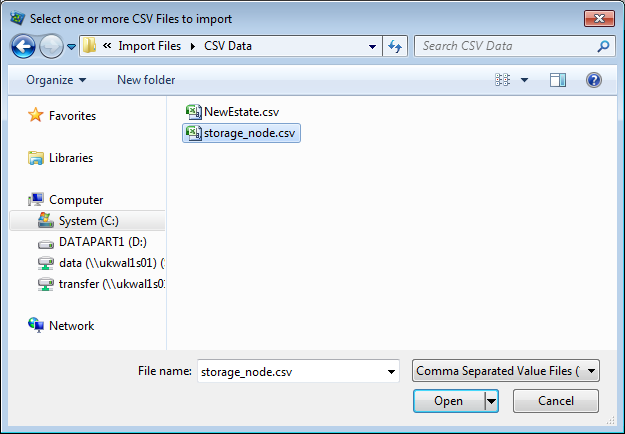
- From the Example Data Directory, select Tutorial Files/Import Files/CSV Data/storage_node.csv and click Open.
- After the data has been imported, the import directory is redisplayed. Click Cancel. This window closes and a text report which shows the results of the update, is displayed:
-
Click
 to close the window.
 - Commit the changes to the new network:
- Right-click the Langley Network in the Explorer window and select Commit changes to master database from the pop-up menu, and the Commit Changes dialog is displayed:
Enter a suitable comment about the update and click OK.
- When given the option to Validate the network before committing, select No.
- Close the GeoPlan view by clicking .
 Tips
Tips You can also import some data using the CSV format by selecting CSV in the Source Type drop-down list. Once you have imported the example network from GIS data, as per this topic, please refer to the Importing Data from CSV Files / Updating Network with CSV files tutorial topic for an example of network update using CSV files.

|
Table Type |
File |
|---|---|
| Orifice | iw_orifice |
| Pump | iw_pump |
| Subcatchment | iw_subcatchment |
| Weir | iw_weir |

The new network is now included in the Langley Catchment Study Group.

Drag the edge of the Model Group window to make the window wider if necessary.

You can now begin to explore the imported network and investigate the facilities that are available in the GeoPlan view.
 Back to flowchart
